MATE e-bike Review
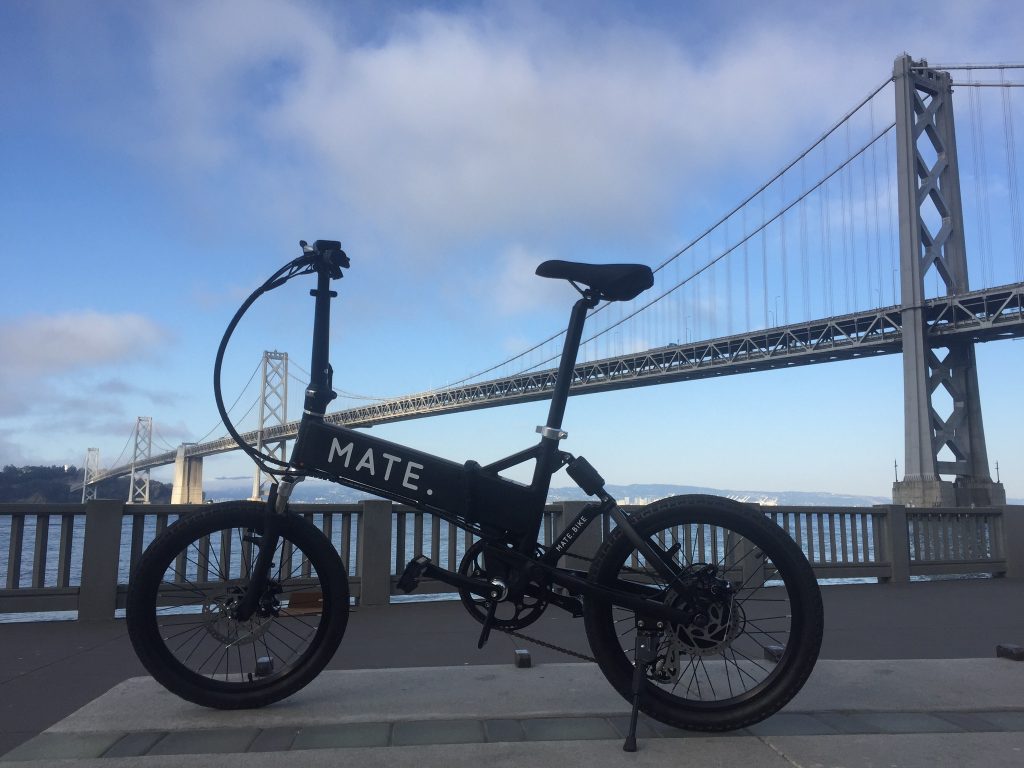
My girlfriend and I got a MATE e-bike last year. While far from perfect, it has proved a solid purchase and we’ve put more than 2500km on it. Read on for a review and details on some of the modifications I’ve made to our MATE.
We ordered a black 350W MATE S fairly early in the Indiegogo campaign in the fall of 2016. Including shipping I think the price came to around $1000. Production and shipping took a long time and the bike arrived in mid 2017.
Quality
To be clear, the MATE is not a high quality e-bike. But it’s relatively well-designed, it’s well-appointed with disc brakes front and rear, front and rear suspension, a good battery and a powerful motor. It’s a good deal for the money in my opinion.
On our bike, the screw that holds hasp that secures the collapsing handlebar came out within the first couple days of use (I suspect it hadn’t been threaded in properly). This would cause the steering tube to collapse while riding (not a good thing). Zip-tying the hasp in place solved the problem, and I notified MATE hoping they’ll improve quality control on that component.
After a year of heavy use, 6 spokes on the rear wheel had snapped. Replacing them was not a big deal, but still annoying.
The pedals that come with the bike are of a collapsing type, but they tend to give a little when pedaling hard—not a confidence inspiring trait. I plan to replace them with some leftover regular pedals that I have lying around.
Weight
The MATE is heavy at 23,7 kg. I had hoped that my girlfriend would want to ride the bike to BART, collapse it, take it on the train and then put it back together to ride the final stretch to her office. This proved unrealistic: The bike is way too heavy to schlep around public transport. I sometimes ride the MATE to work and can only barely haul it up a flight of stairs on the way to the bike locker. No single component tips the scales: The battery is heavy, the rear wheel (with motor) is heavy, and the frame is heavy.
Before riding the MATE I thought the suspension (front telescoping fork, rear articulated sub-frame) was a gimmick. But taking into account the weight, the suspension does really help absorb bumps from holes in the road and going up or down curbs.
Bits and pieces
Other than lights and a lock, one of the first things I put on the handlebar was this phone mount. It has wrap-around elastic bands to secure the phone in place. The MATE comes with a USB port for phone charging under the handlebar. Combined with Bluetooth headphones, I can be in meetings while riding to work (with my phone charging), occasionally glancing down to see what’s going on with slides and presentations in the Hangout. I also installed a cup-holder (per girlfriend request), but that just got in the way and I’ve since removed it.
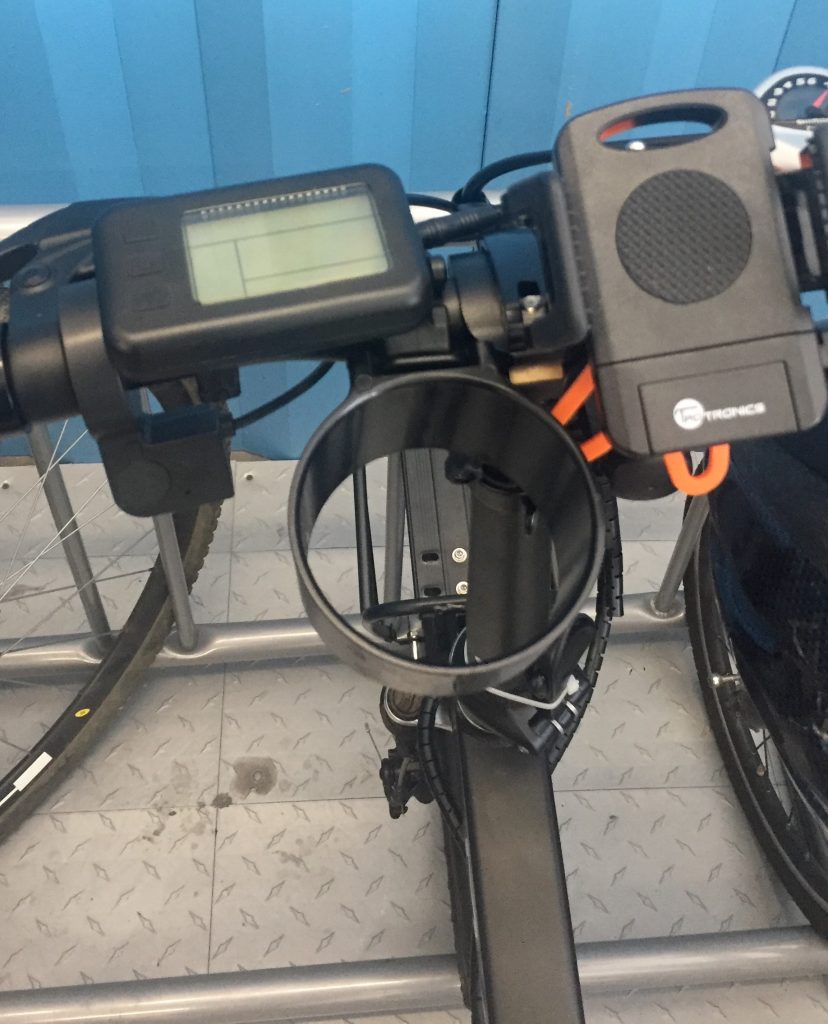
Out of the box the MATE e-assist is speed limited to 30km/h. The governor is easily removed (you can Google for instructions) and then the 350W model will go about 40km/h on a flat, even road (40km/h is probably about as fast as you want to go by the way—my eyes start to water up at that speed, and it’s enough to more-or-less keep up with city traffic).
One funny problem is that even the smallest sprocket on the rear cassette is fairly large, and that means low gearing. I suspect the designers couldn’t put on smaller sprockets because they had to fit the motor and power cable through the hub. The result is that you can’t help the bike accelerate above around 30km/h because it’s not possible to pedal fast enough. To remedy this I switched in a bigger 58-tooth front chainwheel to get higher gearing, which helped a little bit.
We’ve gone through several sets of disc brake pads already. Part of the reason is probably the weight and speed of the bike, but I also find that my riding-pattern is different with a motor. Riding my non-e-bike, I carefully try to conserve momentum, don’t accelerate if there’s a stop coming up and generally try to brake as little as possible. Once I have a motor to help me along, all such caution goes out the window, and I just mash the accelerator whenever there’s a bit of open pavement in front of me. That also means way more stopping and more wear on the brakes.
The brake calipers and pads are some sort of off-brand type, and the MATE web-site doesn’t have info on getting replacement pads. I thought bb5 pads would work, but they don’t, so I ended up installing a new Avid BB7 caliper for the rear wheel. This also has the advantage of greater pad surface area which means more stopping power and less frequent pad changes.
Same as the brake pads, tires wear out pretty fast and I had lots of flats (maybe partly because the factory tires are not of the highest quality). As replacements, I installed heavy-duty German Schwalbe Marathon tires. They’re designed for e-bikes and good for up to 50km/h. I haven’t had a single flat since putting those on. They are heavy, however, and (in my experience) almost impossible to seat, even when applying lots of lubricating soap and elbow grease.
Carriers
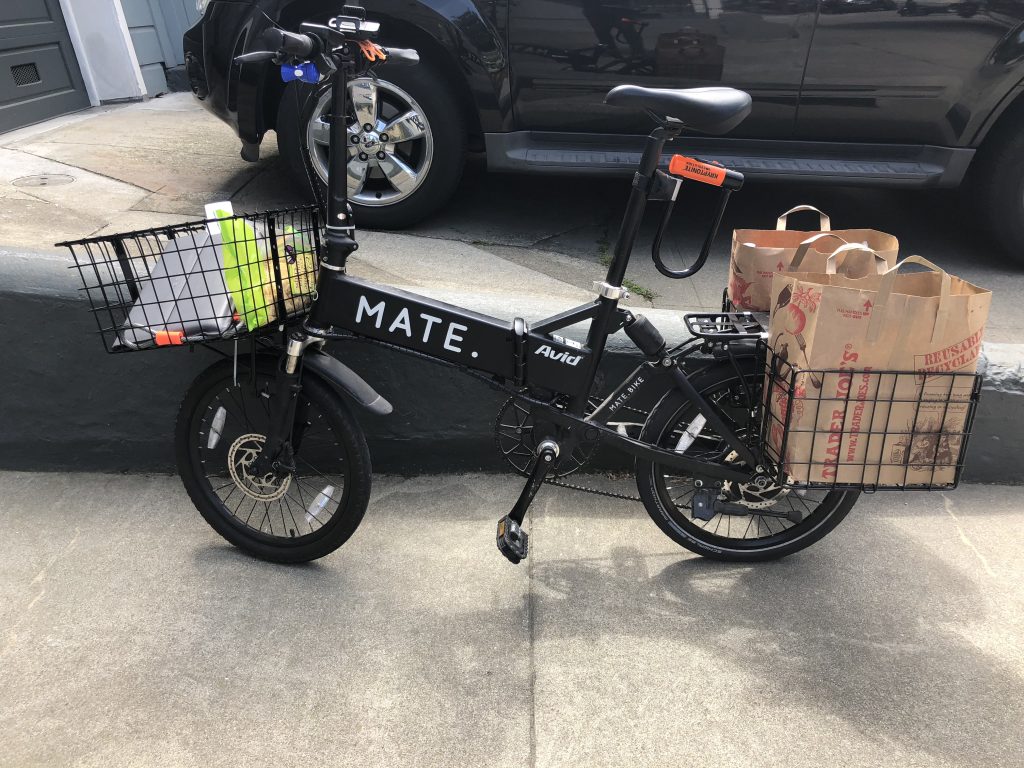
I use the MATE to get groceries, so I wanted a good basket. Unfortunately, that can be hard to find for collapsible bikes with 20″ wheels. I ended up getting a cheap aluminium front rack that mounts on the fork and zip-tied an IKEA wicker basket to that. This worked OK, but the rack is flimsy and I already had one crumble on me.
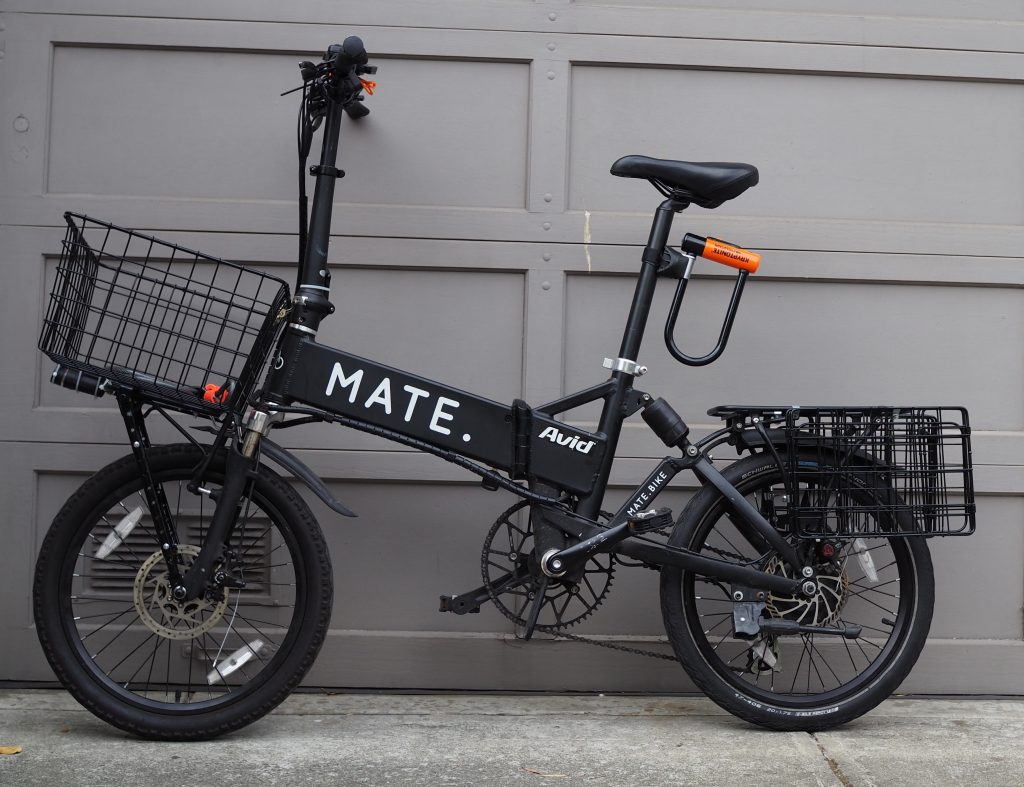
The front of the bike now has a Wald 157 Giant Delivery Basket. This is a great product, but it required extensive modification to mount low over the wheel on the MATE: I had to shorten the wheel-hub poles and since it doesn’t sit up high on the handlebar it’s secured with a stay that connects to the front fork.
Since the basket is not hanging on the handlebar, the weight of the basket and its content would have been on the thin quick-change axle-skewer. Some of the weight is transferred to the actual fork when the skewer is tightened, of course, but it still seemed like a precarious setup. To help transfer load to the fork I remounted the carcass of the second cheap aluminum front rack and screwed and zip-tied it all together. The result is sturdy and doesn’t sway or wobble at all.
A Durban rack (UPDATE: This rack is no longer available from Amazon—searching for “bike rack 20 inch” or “folding bike rack” seems to surface similar-looking products) is mounted on the rear wheel and two Wald 582 collapsible baskets are suspended on the sides. These are perfectly sized to hold a grocery bag each. One thing you have to look out for when mounting a rack on the rear of the MATE is to either attach it only to the unsprung subframe (most practical option in my experience) or to the sprung frame. If you use mounting points on both, the suspension loads will be transferred to the rack instead of the shock and you’re going to have a bad day.
Note that in my setup, both the front and rear racks are mounted on the unsprung suspension components. This is not ideal because it makes the suspension less effective and causes groceries to bounce around more. I don’t think there’s a good alternative for a compact bike like this, however, and it hasn’t proved a problem since I tend to ride carefully when fully loaded anyway. Also note that, even though the frame is heavy, it’s not as stiff as one could have hoped, and that shows when the bike is carrying a lot of weight.
The good part is that all the luggage ends up being mounted pretty low, which helps with stability.
Summary
Overall, I think the MATE is a good deal and would recommend it for anyone looking for a simple and cheap e-bike to get around town. With a few additions, it can be turned into a great commuter bike and grocery hauler. Between the three Wald baskets, I can carry 5 full grocery bags and the motor means I don’t even break a sweat trucking them up San Francisco hills to get home.