House Projects: Drawers for Upstairs Bedroom
You’re reading part of a series of posts covering all the projects I’ve done for our Lower Haight victorian house. I was going to write a post about assorted drawer and shelving projects, but it turned out that this one bedroom drawer project was big enough to warrant its own post.
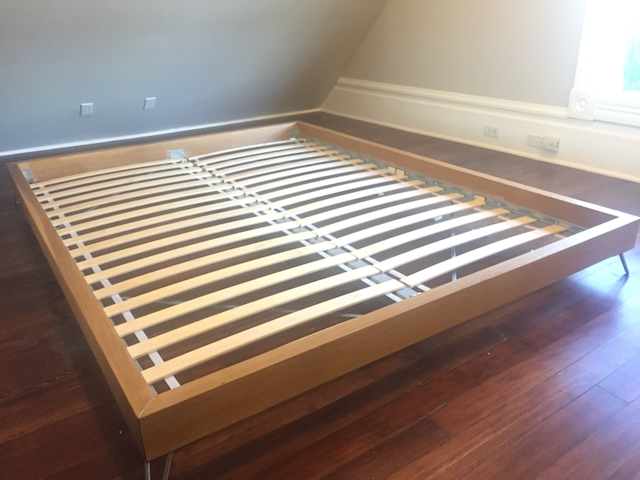
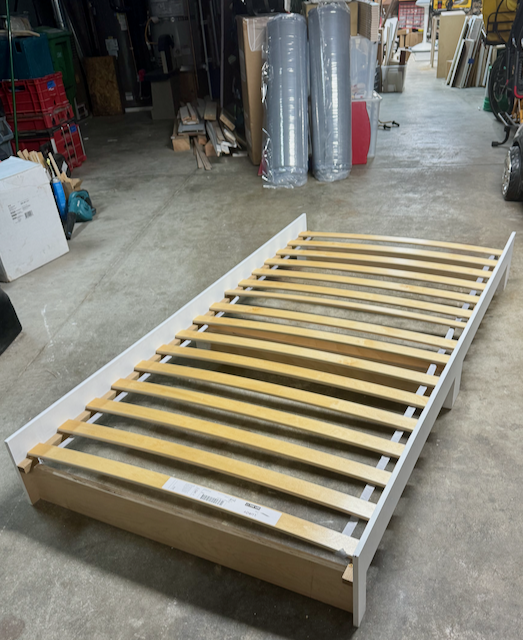
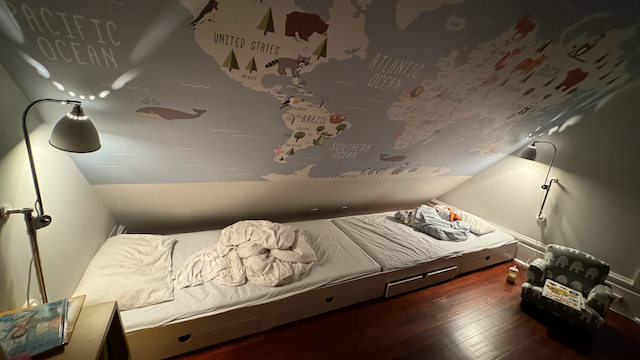
The previous post on furniture covered my two projects to build beds for a hard-to-furnish room with sloping walls. The beds are on the west-facing wall. When we moved into the house, the opposite east-facing wall had low cabinets. The cabinets just opened into an empty space defined by the cabinet doors, the floor and the 45° wall. Better than nothing, but only barely. For the first couple years I think we just put empty suitcases and other infrequently used bulky items in there. I tried putting a single shelf in, but that didn’t help much and just made the lower space even harder to use efficiently.
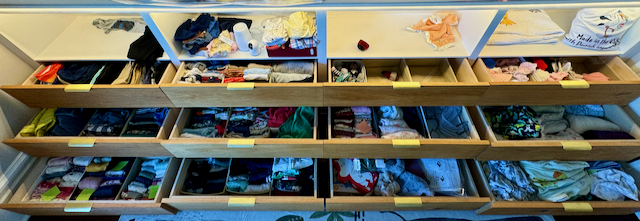
I resolved to improve on this by getting rid of the cabinet doors and building 12 drawers instead. My vision for the outcome was that the drawers would be push-to-open with no visible handles and look like an almost seamless slab of oak drawer fronts with the grid outline of the 12 drawers only faintly visible. And I would achieve this with the cheapest Chinese push-to-open drawer slides I could find and using just a cheap circular saw with a Kreg jig. In other words, the project would require extreme precision and accuracy, but be built with crummy tools and bad drawer hardware.
As with some of the furniture projects in the previous post I conceived of this before I had begun absorbing the wisdom of woodworking YouTube. And the resulting first version was as bad as you might expect. The drawers are very wide at 36” and not very stiff so the cheap side-mounted push-to-open slides never had a chance of working well. You’d push on a drawer to try and open it, and the slide on one side (but not the other) would “open”, leaving the drawer askew. Higher-quality slides from manufacturers like BLUM have push-to-open mechanisms that link the two slides on either side of the drawer to make sure they’re both doing the same thing. But I didn’t know about such finesse before starting.
I eventually gave up on the push-to-open slides and installed normal side-mounted slides and added drawer pulls. I also had to space the drawers out more so that the fronts don’t rub and catch on one another, making the “seamless slab” not very seamless with relatively noticeable gaps between the fronts. The drawers still look fine, though, and provide huge amounts of storage space for our kids’ clothes.
Some more notes:
- I built the drawers from baltic birch which was excessive, but such a great material. I wish I could just build everything from baltic birch
- I used 1/2” plywood for the drawer sides, but should probably used 3/4” for greater stiffness because the drawers are so large
- I also used 1/2” plywood for the drawer bottoms. This doesn’t make sense in retrospect: 1/4” is almost always good enough for drawer bottoms. Thicker material for bottoms doesn’t add much rigidity, costs more and makes the drawer much heavier and harder to handle. The 36” x 24” bottom drawers are very heavy even when empty. They work great, but taking them in and out for repairs or changes is a chore
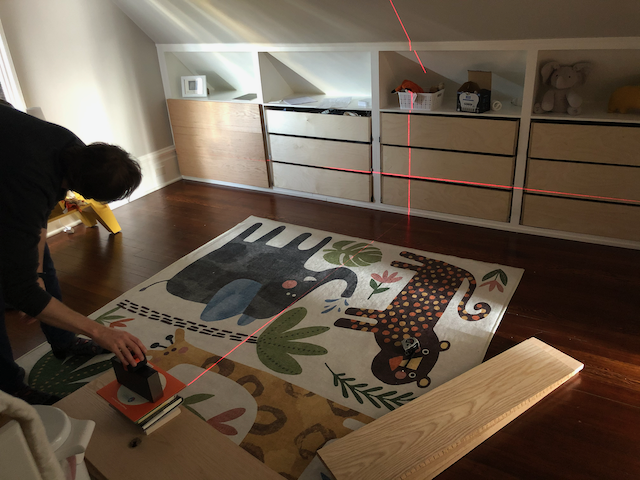
- If you’re serious about building drawers you should buy a table saw, or at least a real track saw. By the time I had built all 12 drawers but before making the oak drawer fronts I caved and bought a $230 Dewalt compact job-site table saw and it’s great.
- Because I built the drawers with just a circular saw, none of the sides or backs are exactly the same height. Not that it matters much.
- Building drawers, especially ones mounted with side-mounted drawer slides requires a lot of precision for the width of the drawer or the slides either bind (too wide) or won’t mount (too narrow). I had to variously slim-down or shim out some of the drawers to make them work, which was very tedious
- I built the drawers into the four slots where the cabinet doors previously were. This definitely saved me some detail work and painting, but I still had to spend a lot of time making walls to mount the slides on. And it also meant I had to build very wide drawers, which is not always ideal. The alternative would have been to rip out the face frames from the cabinets and build carcasses from scratch, giving me greater control over drawer width and other dimensions. This is something I find I tend to do: always improve on and build within whatever’s there, instead of tearing out and starting over. It’s probably because I’d like to have the option of going back in case whatever I’m doing doesn’t pan out.
- I built 3 drawers for each of the 4 bays, yielding 12 drawers: long ones at the bottom, shorter ones at the top. And there are cubbies on top where no usable drawers could be had. The drawers are relatively deep, and one regret I have is not building 4×4 slightly shallower drawers for even more space. But not a huge regret.
This the first major drawer project I did, and I learned a lot. I’ve since built many more drawers, both using side-mounted slides and much better bottom-mounted BLUM slides. And while I’ve gotten better, I still find the process tedious and error prone. But the results are worth it.